Peptide Injections: A Complete How-To Guide (Subcutaneous Technique, Supplies & Safety)
A peptide injection is a small shot, usually given just under the skin (subcutaneously) with a very thin insulin-style needle, that delivers a reconstituted peptide solution into the fatty layer between your skin and muscle. Most peptides have to be injected because if you swallowed them, your digestive system would break them apart before they could ever work, a point we unpack in our primer on what peptides are. That single fact is why "how do I inject this safely?" is one of the first real questions people run into.
This is the practical hub for that question. It walks through the supplies you need, the subcutaneous technique step by step, where to inject and how to rotate sites, how to make the shot more comfortable, and how to dispose of needles safely. We keep dose numbers, per-compound protocols, results timelines, and cost out of this guide on purpose: those belong to other articles, because they differ for every compound and would only muddy a technique guide. Here, the focus is the mechanics of a safe, clean injection.
Key Takeaways
- Most peptides are injected subcutaneously (into the fat just under the skin) using a small insulin syringe, because the gut would otherwise destroy them.
- The core supplies are simple: a fine insulin syringe (commonly 29 to 31 gauge, around 1/2 inch or shorter), alcohol prep pads, the peptide vial, bacteriostatic water for mixing, and an FDA-cleared sharps container (FDA, 2024; MedlinePlus, 2024).
- The main sites are the abdomen, outer thigh, and back of the upper arm. Insert at 45 to 90 degrees depending on how much fat you have, and stay at least an inch from the navel (MedlinePlus, 2024).
- Rotate sites every time. Injecting the same spot repeatedly can cause lipohypertrophy (lumpy, scarred fat) and make absorption unpredictable, a well-documented problem in insulin therapy (Clinical Diabetes (ADA), 2019).
- Inject slowly and never reuse or share needles. Slow, steady pressure reduces stinging; one needle, one use, then straight into the sharps container (FDA, 2024).
- Reconstitution is its own skill. We summarize it here and link to the full step-by-step how to reconstitute peptides guide.
Why are peptides injected instead of swallowed?
Most peptides are injected because the digestive system treats them like food and breaks them down before they can reach the bloodstream. A peptide is a short chain of amino acids, the same chemistry as the protein in a meal, so your gut enzymes chop it into fragments and the signal is lost.
Injecting under the skin bypasses the gut entirely. The peptide enters the fatty subcutaneous layer, which has a rich-enough blood supply to absorb it gradually but slowly enough to avoid the spike of an intravenous dose. This is the same reason insulin and the GLP-1 weight-loss drugs are injected rather than taken as pills. A few peptides are formulated as nasal sprays, topical creams, or specially engineered oral tablets, but those are the exceptions (ColumbiaDoctors, "What to Know About Peptides," 2024, retrieved 2026-06-15).
For the deeper biology of what a peptide is and how it signals once it is in the body, see what are peptides and how peptides work. This guide assumes you already have a compound and a clinician's guidance, and you want to know how the injection itself is done correctly.
Citation capsule. Peptides are typically given by subcutaneous injection because they are degraded in the gastrointestinal tract if taken orally; injection under the skin delivers them to the subcutaneous fat, where they are absorbed gradually. Some peptides instead use nasal, topical, or specially engineered oral routes. Source: Columbia University Department of Surgery (ColumbiaDoctors), 2024.
What are the three routes, and why is subcutaneous the default?
There are three injection routes (subcutaneous, intramuscular, and intravenous), but the overwhelming default for at-home peptide use is subcutaneous, into the fat just under the skin. It is the simplest, the least painful, and the hardest to get dangerously wrong.
Subcutaneous (often shortened to "SubQ," "SC," or "SQ") places the solution in the fatty layer between skin and muscle, which absorbs it slowly and steadily. Intramuscular (IM) goes deeper, into muscle, and is used for a small number of compounds or larger volumes; it needs a longer needle and more anatomical care. Intravenous (IV), directly into a vein, is a clinical procedure and is not something to attempt at home. The vast majority of peptide protocols people follow are subcutaneous, which is why this guide focuses there.
| Route | Where it goes | Typical needle | Who uses it |
|---|---|---|---|
| Subcutaneous (SubQ) | Fat layer under the skin | Short, fine insulin needle (about 29 to 31 G, 1/2 inch or shorter) | The default for at-home peptide injections |
| Intramuscular (IM) | Into muscle | Longer needle (often 22 to 25 G, 1 to 1.5 inch) | Specific compounds or larger volumes, usually clinician-directed |
| Intravenous (IV) | Directly into a vein | Clinical equipment | A medical procedure, not for home use |
We deliberately keep IM and IV shallow here. They are higher-risk, compound-specific, and would distract from the core skill. If a clinician has you on an IM protocol, follow their hands-on training rather than a written guide.
What supplies do you need to inject peptides?
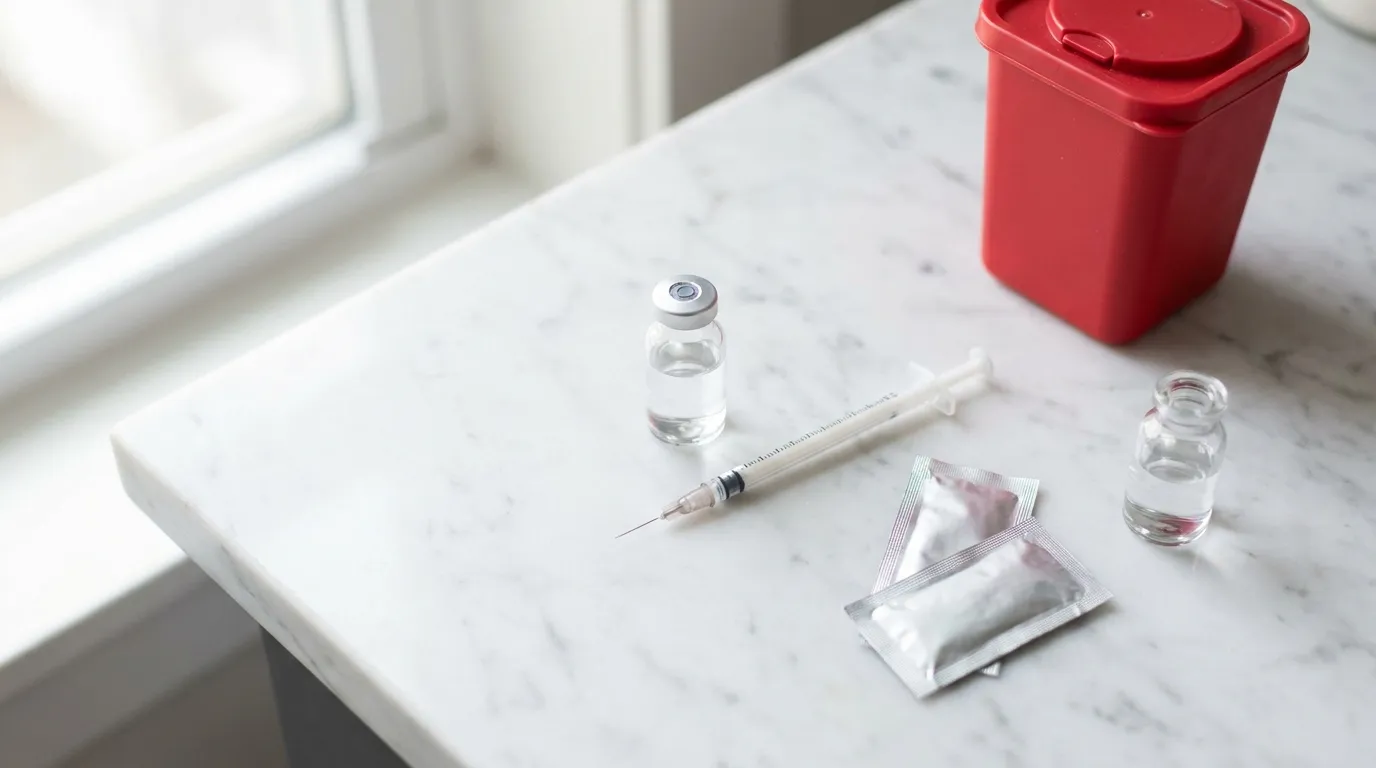
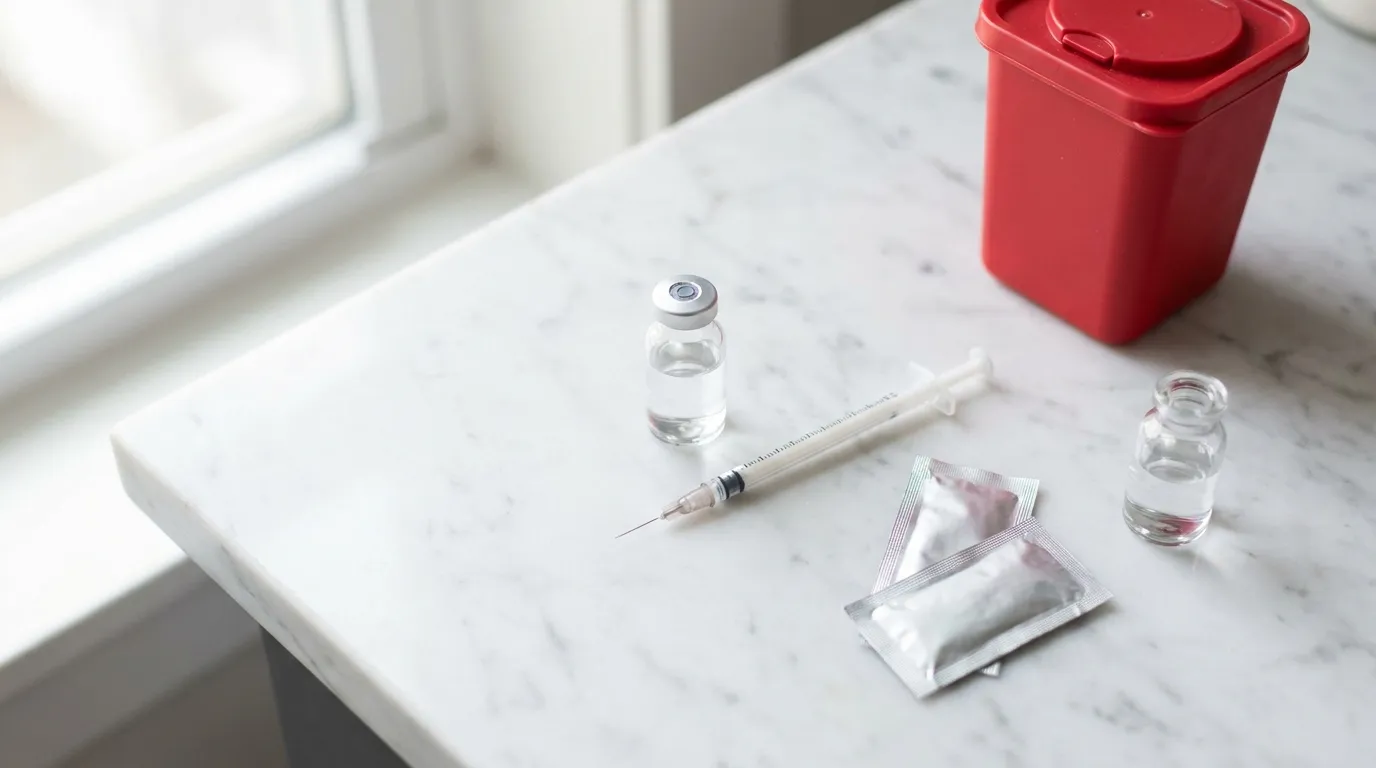
You need a fine insulin syringe, alcohol prep pads, the peptide vial, bacteriostatic water for mixing, and an FDA-cleared sharps container, plus clean hands and a clean surface. The list is short, and most of it is the standard kit used by millions of people who inject insulin at home.
Insulin syringes are the workhorse for subcutaneous peptide injections because they combine a tiny barrel (measured in units) with a permanently attached ultra-fine needle. MedlinePlus describes the subcutaneous needle simply as "very short and thin" (MedlinePlus, "Subcutaneous (SQ) injections," 2024, retrieved 2026-06-15). In practice, home users gravitate to needles in the 29 to 31 gauge range and lengths of about 1/2 inch (12.7 mm) or shorter, because a higher gauge number means a thinner needle and a short length keeps the dose in the fat rather than the muscle. Reconstitution uses bacteriostatic water, which is sterile water with 0.9 percent benzyl alcohol added as a preservative so the vial can be used repeatedly without bacteria multiplying inside it (DailyMed, "Bacteriostatic Water for Injection" label, retrieved 2026-06-15).
Here is the working checklist:
| Supply | Why you need it | Notes |
|---|---|---|
| Insulin syringe with fixed needle | Draws and injects the dose | Commonly 29 to 31 G, 1/2 inch or shorter; single use only |
| Alcohol prep pads | Disinfect the vial top and skin | One for the vial stopper, one for the skin |
| Peptide vial | The lyophilized (freeze-dried) powder | Reconstituted before first use |
| Bacteriostatic water | Dissolves the powder; preserved for multi-use | Contains 0.9% benzyl alcohol (DailyMed) |
| FDA-cleared sharps container | Safe disposal of used needles | Or a heavy-duty leak- and puncture-resistant container (FDA) |
| Clean hands + clean surface | Reduces infection risk | Wash hands; lay supplies on a clean towel |
A note on bacteriostatic water: because it contains benzyl alcohol, the same label that makes it convenient for multi-dose mixing also makes it unsuitable for newborns, and it should not be used for IV fluid replacement or spinal procedures (DailyMed, retrieved 2026-06-15). For the chemistry of why bacteriostatic water (and not plain sterile water or saline) is the standard mixing fluid, see how to reconstitute peptides.
How do you reconstitute a peptide before injecting? (the short version)
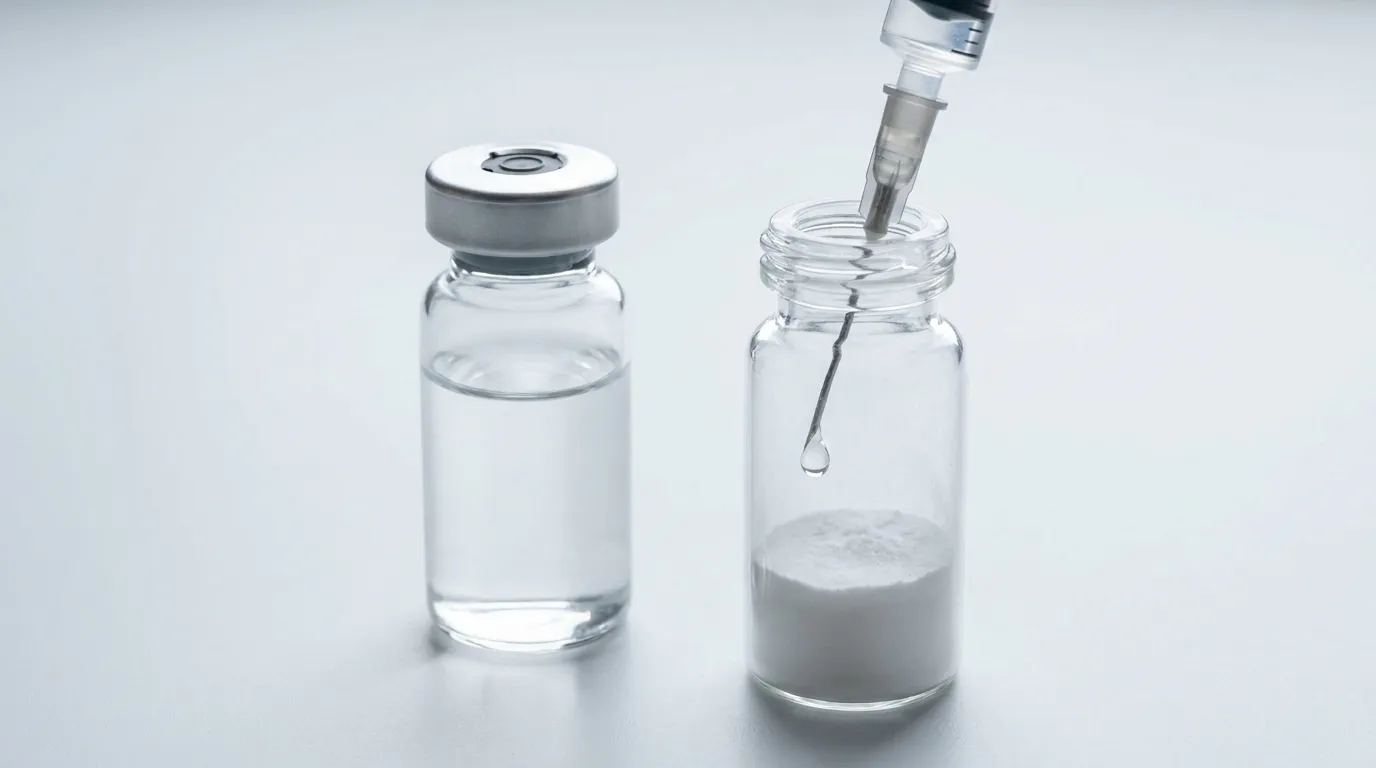
Reconstitution means mixing the freeze-dried peptide powder with bacteriostatic water to turn it into an injectable liquid, adding the water slowly down the side of the vial and swirling, never shaking, until it dissolves clear. This is a summary; the full method, including how to calculate concentration and draw an accurate dose with our reconstitution calculator, has its own dedicated guide.
The high-level sequence is straightforward: wipe both vial tops with alcohol, draw your chosen volume of bacteriostatic water, inject it gently against the inside glass wall of the powder vial rather than blasting it onto the powder, and let the vial sit or swirl until the solution is completely clear with no floating particles. Peptides are delicate, so vigorous shaking can damage them; a gentle swirl is enough.
The two things that matter most for safety here are simple to remember:
- Use the right water. Bacteriostatic water is preferred for multi-use vials because its benzyl alcohol keeps the solution sterile between draws (DailyMed, retrieved 2026-06-15).
- Inspect before you draw. A correctly reconstituted solution is clear. If it looks cloudy, discolored, or has visible particles after it should have dissolved, do not inject it.
Because dose math, concentration, and per-compound volumes vary so much, we are intentionally not putting numbers here. The complete walkthrough lives in how to reconstitute peptides, and storage of the mixed vial afterward is covered in our storage guides. This keeps the injection guide focused on the shot itself.
Where should you inject peptides? (injection sites)
The three standard subcutaneous sites are the abdomen, the outer thigh, and the back of the upper arm, because each has an accessible layer of fat away from large blood vessels and nerves. The abdomen is the most popular for self-injection because it is easy to see, easy to pinch, and absorbs reliably.
MedlinePlus defines the usable sites and their safe margins clearly: the belly area below the ribs and above the hip bones but staying at least 2 inches away from the navel; the outer side of the upper thighs; and the upper arms, roughly 3 inches below the shoulder and 3 inches above the elbow (MedlinePlus, "Subcutaneous (SQ) injections," 2024, retrieved 2026-06-15). For self-injection, the abdomen and thigh are easiest to reach; the back of the arm usually needs a second person or an awkward angle.
A practical way to picture the abdomen is as a clock face centered on the navel: you avoid the area immediately around the belly button and use the "hours" of the clock as separate spots. The same logic applies to the thigh, where the outer, fleshier front-side of the upper leg is the target, not the inner thigh or anywhere near a vein.
| Site | Best for | Watch out for |
|---|---|---|
| Abdomen | Easiest self-injection, reliable absorption | Stay 2+ inches from the navel; avoid scars and the beltline |
| Outer thigh | Easy to reach while seated | Use the outer/front fleshy area, not the inner thigh |
| Back of upper arm | An extra rotation zone | Hard to reach alone; may need help |
For all sites, the rule is the same: inject into a fatty area, not over a muscle, bone, vein, scar, bruise, or area of broken or irritated skin.
How do you inject a peptide subcutaneously, step by step?
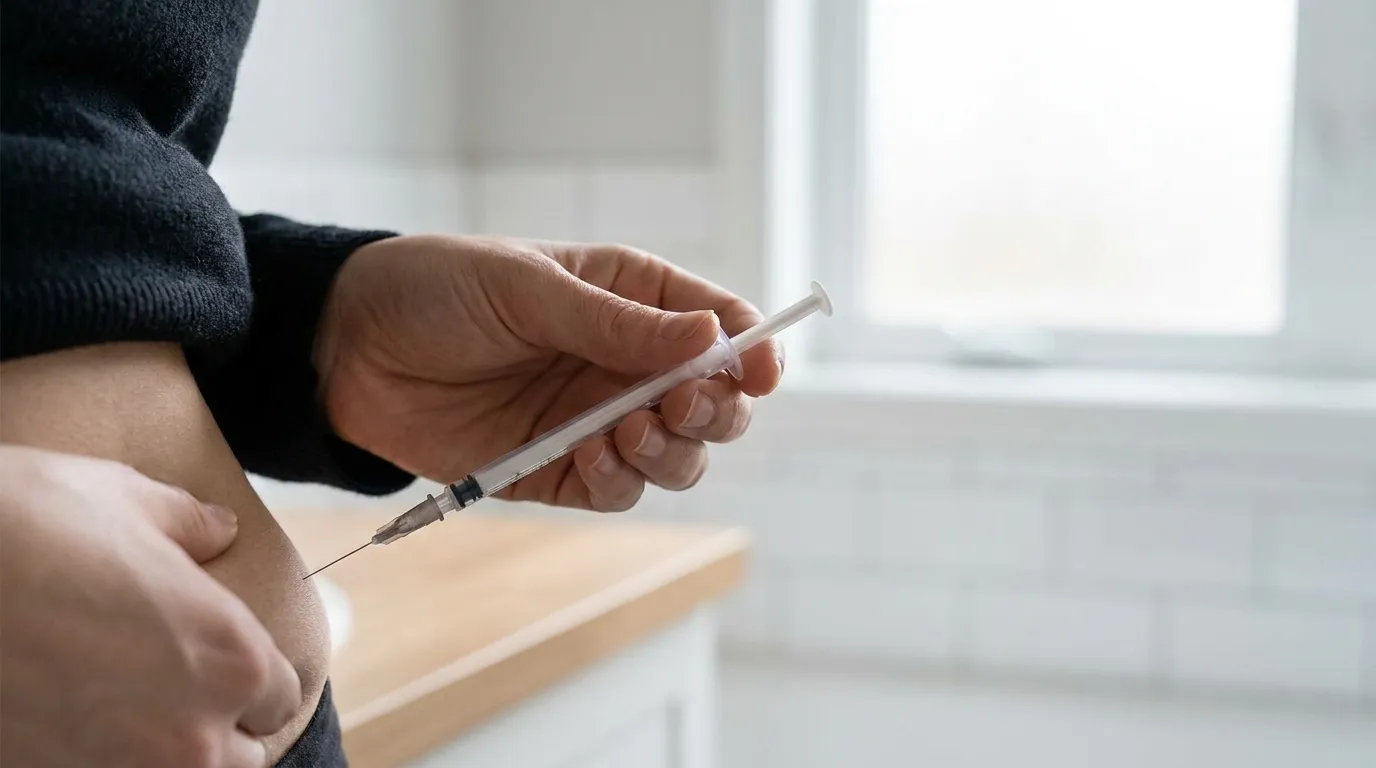
Wash up, disinfect the site, pinch a fold of skin, insert the fine needle at 45 to 90 degrees, inject slowly, then withdraw and apply gentle pressure. The whole thing takes under a minute once you have done it a few times, and done calmly it is nearly painless.
The angle depends on your body: MedlinePlus instructs inserting the needle "at a 90-degree angle (45-degree angle if there is not much fatty tissue)," and pinching "an inch (2.5 cm) of skin and fatty tissue (not the muscle) between your fingers" (MedlinePlus, 2024, retrieved 2026-06-15). Leaner people and thinner sites favor 45 degrees so the needle does not reach muscle; people with more subcutaneous fat can use 90 degrees. A key point unique to subcutaneous injection: routine aspiration (pulling back on the plunger to check for blood) is not required, because the short needle in the fat layer is not aiming for a vein.
- Wash your hands thoroughly with soap and water, and lay your supplies on a clean surface.
- Inspect the solution. It should be clear, with no cloudiness or particles. If it looks off, do not use it.
- Disinfect. Wipe the vial stopper with one alcohol pad, then wipe the chosen skin site with another and let it air-dry so it does not sting.
- Draw your dose into the insulin syringe as your clinician directed, then tap out air bubbles and gently push the plunger until a tiny bead appears at the tip.
- Pinch a fold of skin and fat (about an inch) between thumb and forefinger to lift it away from the muscle underneath (MedlinePlus, 2024).
- Insert the needle in one quick, confident motion at 45 to 90 degrees, depending on how much fat you have at that site.
- Inject slowly and steadily over a few seconds; injecting too fast is a common cause of stinging. Release the pinch once the needle is in.
- Withdraw the needle at the same angle, then press a clean cotton ball or gauze on the spot for several seconds. Do not rub.
- Dispose of the needle immediately in your sharps container. One needle, one use.
Our take: The two beginner habits that matter most are injecting slowly and never reusing a needle. A slow push almost eliminates the burn people fear, and a fresh, sharp needle every time both hurts less and keeps things sterile. Everything else is refinement.
Why does injection-site rotation matter so much?
Rotating your injection site every time prevents lipohypertrophy, lumpy, thickened fat that forms when you inject the same spot repeatedly, and lipohypertrophy makes absorption erratic. It is the single most evidence-backed habit in this entire guide, drawn directly from decades of insulin-injection research.
Repeatedly injecting one area damages the local tissue and leads to fatty lumps; injecting into those lumps reduces insulin absorption and "greatly increases insulin uptake variability," with one glucose-clamp study showing 3 to 5 times more variability than injecting into normal tissue (Clinical Diabetes (ADA), "The Injection Technique Factor," 2019, retrieved 2026-06-15). That same review names improper site rotation and needle reuse as the most common factors behind lipohypertrophy, and recommends spacing injections at least 1 cm apart to avoid repeat tissue trauma. While this evidence base is from insulin rather than research peptides specifically, the mechanism (repeated trauma to the same subcutaneous tissue) is the same regardless of what is being injected, so rotation is sound general technique.
A simple, reliable rotation system:
- Move at least an inch from your last injection every single time (MedlinePlus, 2024).
- Use the clock method on the abdomen: imagine a clock around the navel and step to the next "hour" each injection.
- Rotate across zones too, cycling between abdomen, left and right thigh, and arms over the week, not just within one patch.
- Skip any spot that is bruised, sore, lumpy, scarred, or red until it has fully recovered.
How can you make injections less painful?
Most injection discomfort comes from a few avoidable things: a dull or reused needle, alcohol that has not dried, cold solution straight from the fridge, tense muscles, and pushing the plunger too fast. Fix those and a subcutaneous shot is usually a quick pinch at most.
The biggest lever is speed. Injecting the solution slowly and steadily, rather than forcing it in, is widely cited as the simplest way to avoid the brief burn people associate with peptide shots. The next biggest is the needle itself: a fresh, sharp, high-gauge (thin) needle every time is far more comfortable than a reused one, whose tip dulls and bends microscopically after a single use.
A quick comfort checklist:
- Let the alcohol dry before you insert. Wet alcohol carried under the skin stings.
- Let cold solution warm slightly in your hand for a minute if it was refrigerated; cold fluid can ache going in.
- Use a new needle every time. Reused needles are duller and hurt more.
- Relax the area. Tensing the muscle or skin makes insertion sharper.
- Inject slowly. A steady few-second push beats a fast jab.
- Rotate sites. Fresh, healthy tissue is more comfortable than an overused patch.
If a particular spot bleeds a little or bruises afterward, apply gentle pressure (do not rub) and simply choose a different area next time. Minor bleeding or a small bruise from nicking a tiny surface vessel is common and not usually a concern.
What does safe needle and sharps disposal look like?
Used needles go straight into an FDA-cleared sharps container, never into household trash, recycling, or the toilet, and the container is sealed and handed off per your local rules once it is about three-quarters full. This protects you, your household, and the sanitation workers downstream.
The FDA describes a simple two-step process: place every used needle and sharp immediately into an FDA-cleared sharps disposal container, then dispose of the full container according to your community's guidelines (FDA, "Best Way to Get Rid of Used Needles and Other Sharps," 2024, retrieved 2026-06-15). If a commercial container is not available, the FDA says a heavy-duty plastic household container with a tight-fitting, puncture-resistant lid that stays upright (such as a laundry detergent jug) can work as a stopgap. Overfilling raises the risk of a needle-stick, so the FDA advises sealing and disposing of the container when it is about three-quarters full, and keeping it out of reach of children and pets (FDA, 2024).
What the FDA says never to do is just as important:
- Never put loose needles in household or public trash or recycling bins.
- Never flush needles down the toilet.
- Never reuse or share needles or syringes with anyone, ever.
Disposal drop-off options vary by area and can include pharmacies, doctors' offices, hospitals, health departments, and some police or fire stations; many regions also offer mail-back programs. Check your local guidelines, because rules differ by city and state.
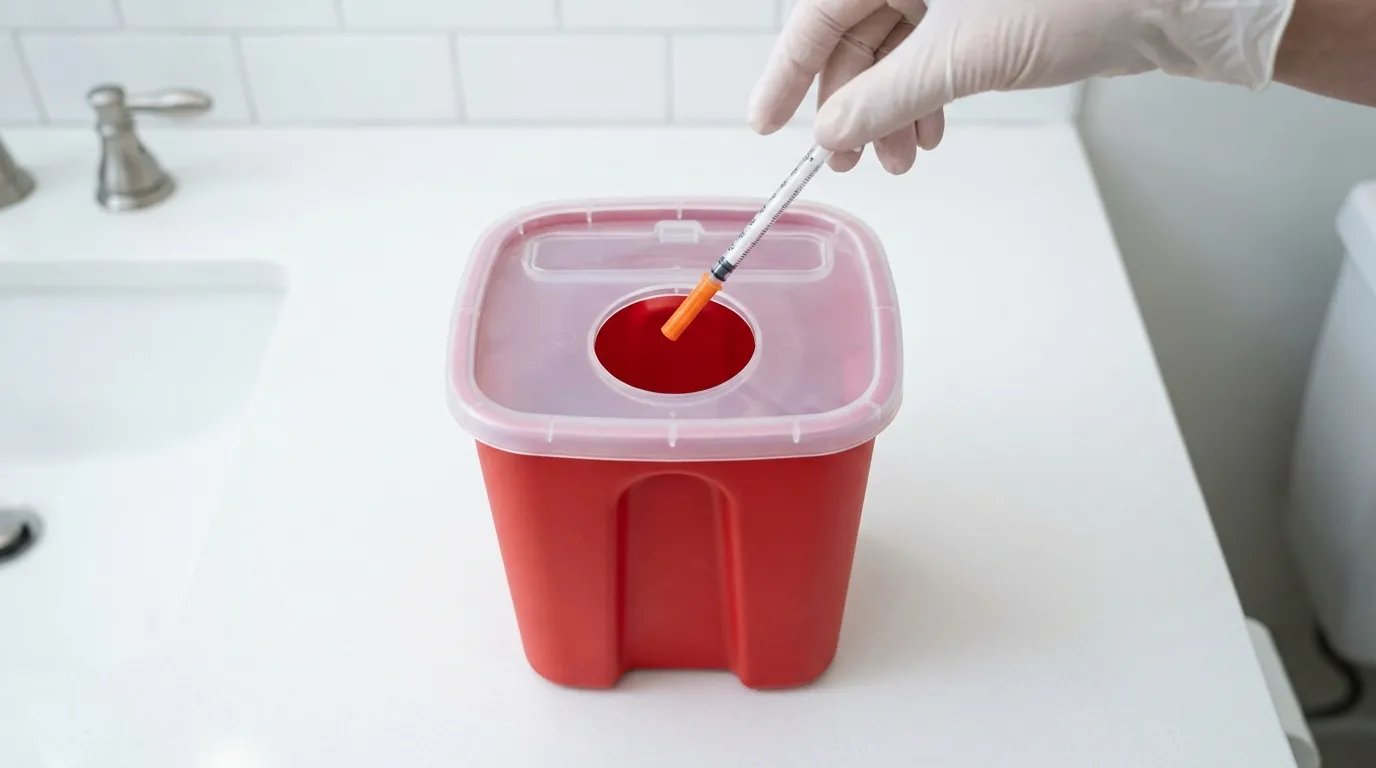
Citation capsule. The FDA recommends a two-step sharps disposal process: (1) immediately place used needles in an FDA-cleared sharps container (or a sturdy, leak- and puncture-resistant household container with a tight lid if one is unavailable), and (2) dispose of the sealed container per local guidelines when it is about three-quarters full. Never place loose needles in the trash or recycling, never flush them, and never reuse or share them. Source: U.S. Food and Drug Administration, 2024.
What can go wrong, and how do you handle it? (troubleshooting)
Most injection problems are minor and have simple fixes: a little bleeding, a bubble in the syringe, a sore spot, or a cloudy vial. Knowing the common ones in advance keeps a small hiccup from becoming a reason to panic.
Here is a quick reference for the situations beginners ask about most. None of this replaces a clinician's advice for your specific situation; signs of infection or a severe reaction always warrant prompt medical care.
| Situation | What it usually means | What to do |
|---|---|---|
| Small bleeding after the shot | Nicked a tiny surface vessel | Apply gentle pressure with gauze; do not rub. Common and minor. |
| A bruise appears | Minor bleeding under the skin | Harmless; rotate to a fresh site next time. |
| Air bubble in the syringe | Air drawn in while filling | Tap the barrel so bubbles rise, then push them out before injecting. |
| Stinging during injection | Fast push, wet alcohol, or cold fluid | Inject slower; let alcohol dry; warm the solution slightly. |
| Lump or hard spot at a site | Possible lipohypertrophy from overuse | Stop using that spot; rotate; let it recover (Clinical Diabetes, 2019). |
| Cloudy or particle-filled solution | Possible degradation or contamination | Do not inject. Discard per guidance and re-evaluate. |
| Redness, warmth, swelling, pus, or fever | Possible infection | Stop and seek medical care promptly. |
When to seek medical attention is the part worth memorizing: signs of infection at the site (spreading redness, warmth, swelling, pus, or fever) or any sign of a severe allergic reaction (such as widespread hives, swelling of the face or throat, or trouble breathing) are medical emergencies. Stop and get help rather than pushing through. Because peptide products from the unregulated market can vary in purity and sterility, treating any unusual reaction seriously is sensible.
Quick safety rules to inject by
A handful of non-negotiable rules cover almost everything that keeps an injection safe: clean technique, fresh single-use needles, careful inspection, rotation, and safe disposal. Keep these in view until they become automatic.
- One needle, one use. Never reuse or share needles or syringes (FDA, 2024).
- Wash hands and disinfect the vial top and the skin every time.
- Inspect the solution before drawing; clear only, never cloudy or particle-filled.
- Inject into fat, not muscle or veins, at 45 to 90 degrees with a pinched fold (MedlinePlus, 2024).
- Rotate sites at least an inch each time to protect the tissue (Clinical Diabetes, 2019).
- Dispose immediately into an FDA-cleared sharps container (FDA, 2024).
- Follow your clinician. This guide is technique, not a prescription; doses and suitability are individual and medical decisions.
Frequently Asked Questions
The bottom line
A peptide injection is, at its core, a simple and well-established procedure: a small amount of clear solution delivered into the fat just under the skin with a fine needle, using the same technique millions of people already use for insulin. The mechanics that matter are unglamorous and reliable: clean hands, a disinfected site, a fresh single-use needle, a pinched fold, the right angle for your body, a slow steady push, diligent site rotation, and immediate sharps disposal.
What this guide deliberately does not do is tell you what to inject, how much, or whether you should. Those are compound-specific, individual, and medical questions. Many peptides are not FDA-approved for human use, products in the unregulated market vary in quality, and the right decision depends on your health and a clinician's judgment. Master the technique here, keep it sterile and rotated, and take the dosing, compound, and suitability questions to a qualified healthcare professional and to our compound-specific guides.
Sources
- U.S. Food and Drug Administration. "Best Way to Get Rid of Used Needles and Other Sharps." 2024. Retrieved 2026-06-15. https://www.fda.gov/medical-devices/safely-using-sharps-needles-and-syringes-home-work-and-travel/best-way-get-rid-used-needles-and-other-sharps
- U.S. Food and Drug Administration. "Safely Using Sharps (Needles and Syringes) at Home, at Work and on Travel." 2024. Retrieved 2026-06-15. https://www.fda.gov/medical-devices/consumer-products/safely-using-sharps-needles-and-syringes-home-work-and-travel
- MedlinePlus (U.S. National Library of Medicine). "Subcutaneous (SQ) injections." 2024. Retrieved 2026-06-15. https://medlineplus.gov/ency/patientinstructions/000430.htm
- DailyMed (U.S. National Library of Medicine). "Bacteriostatic Water for Injection" prescribing label. Retrieved 2026-06-15. https://dailymed.nlm.nih.gov/dailymed/fda/fdaDrugXsl.cfm?setid=ccadcf46-6a6f-436b-9bbc-17e2983a335f
- Spollett G, Edelman SV, Mehner P, et al. "The Injection Technique Factor: What You Don't Know or Teach Can Make a Difference." Clinical Diabetes (American Diabetes Association), 2019;37(3):227-233. Retrieved 2026-06-15. https://pmc.ncbi.nlm.nih.gov/articles/PMC6640874/
- ColumbiaDoctors (Columbia University Department of Surgery). "What to Know About Peptides: Benefits & Safety Concerns." 2024. Retrieved 2026-06-15. https://www.columbiadoctors.org/news/what-know-about-peptides-benefits-safety-concerns
- Centers for Disease Control and Prevention. "Vaccine Administration: Subcutaneous (SUBCUT) Injection." Retrieved 2026-06-15. https://www.cdc.gov/vaccines/hcp/admin/downloads/YCTS-VaxAdmin-Subcut-injection.pdf
- SafeNeedleDisposal.org (Coalition for Safe Community Needle Disposal). "FDA-Cleared Sharps Containers." Retrieved 2026-06-15. https://safeneedledisposal.org/sharps-management/fda-cleared-sharps-containers/